Are you ready to learn how to make beautiful, cozy blankets with crochet blanket patterns? Whether you’re new to crochet or have been doing it for a while, knowing how to read patterns is crucial. It unlocks your creative potential.
At first, crochet pattern terminology might seem hard to understand. But with the right guide, you’ll soon be making masterpieces that will be loved for years. As you explore crochet, you’ll see that understanding crochet patterns is a key skill. It opens up a world of creative possibilities.
Key Takeaways
- Learn the basics of reading crochet patterns
- Understand common crochet pattern terminology
- Discover tips for beginners to get started with crochet blanket patterns
- Explore best practices for decoding crochet instructions
- Unlock your creative potential with crochet blanket patterns
Understanding Crochet Patterns
A crochet pattern is more than just instructions. It’s a guide to making something special. Whether it’s a cozy blanket, a hat, or a scarf, it helps you create something beautiful and useful.
To enjoy your crochet journey, it’s key to know the basics of patterns. This means understanding what a pattern is, why it’s important to read it right, and knowing common terms.
What is a Crochet Pattern?
A crochet pattern is a set of instructions for making a specific project. It tells you what materials you need, the stitches to use, and how to put the pieces together. It’s like a recipe for your crochet project, showing you how to get the desired result.
Importance of Reading Patterns
Reading crochet patterns is a skill every crocheter needs. It helps you avoid mistakes, ensures your project looks as expected, and saves time and yarn. A well-read pattern can make your project look professional or disappointing.
Common Terminology in Crochet Patterns
Crochet patterns use specific terms and abbreviations. Knowing these is key to understanding the instructions. Common terms include abbreviations for stitches, like “ch” for chain and “sc” for single crochet, and how to do specific stitches or techniques.
| Abbreviation | Stitch or Action | Description |
|---|---|---|
| ch | Chain | The foundation of most crochet projects, creating a base chain. |
| sc | Single Crochet | A common stitch that creates a smooth, dense fabric. |
| st | Stitch | A general term referring to any crochet stitch. |
By learning these basics, you’ll get better at reading crochet patterns. You’ll be able to make beautiful projects.
Essential Tools for Reading Patterns
When you start a crochet project, having the right tools is key. You need the right materials and tools to follow the pattern well. This ensures your project turns out just as you imagined.
Crochet Hooks and Yarn
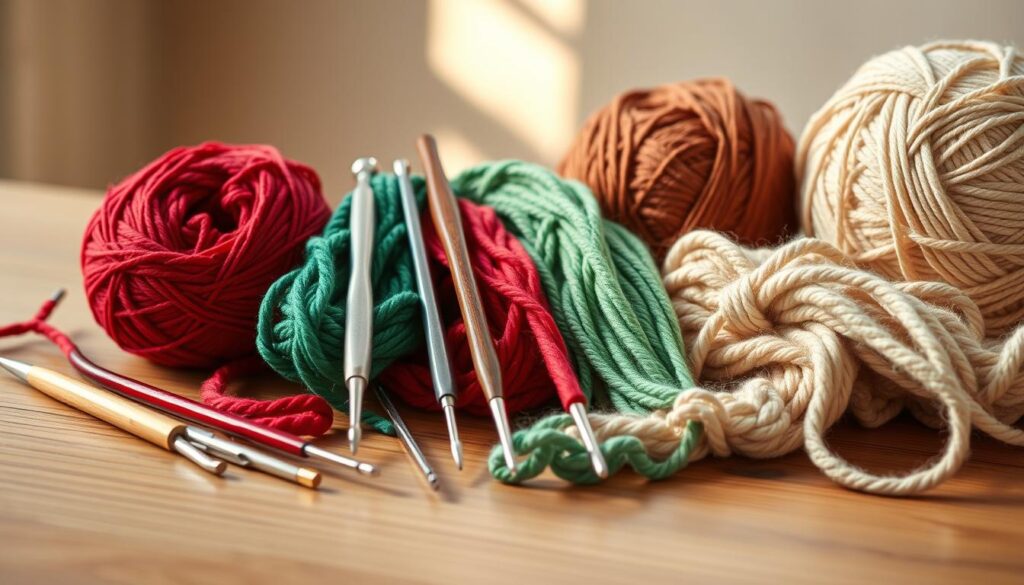
The basic tools for crochet are crochet hooks and yarn. The size and type of hook and yarn greatly affect your project. Choose a hook that feels good in your hand and pick yarn that matches the project’s needs.
- Choose a hook that feels comfortable in your hand.
- Select yarn that matches the recommended weight and fiber type for your project.
Notions and Accessories
There are more tools than just hooks and yarn. Notions and accessories like stitch markers, yarn needles, scissors, and measuring tapes are very helpful. Stitch markers help with complex patterns, and a yarn needle is needed for sewing ends.
- Use stitch markers to mark the beginning of rounds or specific pattern repeats.
- Keep a yarn needle handy for sewing in ends and joining pieces.
Pattern Reading Tools
To read crochet patterns well, you might need pattern reading tools. These include printed or digital copies of the pattern, highlighters, and apps for tracking. Knowing crochet abbreviations is also important, as patterns use shorthand.
- Familiarize yourself with common crochet abbreviations to read patterns more easily.
- Consider using an app or digital tool to help track your progress and notes.
Types of Crochet Patterns
Crochet patterns come in different forms. Knowing how to decipher them is key to unlocking your creative potential. Whether you’re a beginner or an advanced crocheter, understanding the various types of patterns can help you choose the right project for your skill level.
Written versus Charted Patterns
Crochet patterns can be presented in two main formats: written instructions and charted diagrams. Written patterns provide a step-by-step guide in text form. Charted patterns use symbols and diagrams to represent stitches and rows.
Written patterns are often preferred by beginners because they provide detailed instructions. Charted patterns offer a visual representation that can be more intuitive for complex designs. To decipher crochet charts, you need to understand the symbols used for different stitches.
| Pattern Type | Description | Best For |
|---|---|---|
| Written Patterns | Step-by-step text instructions | Beginners, complex patterns |
| Charted Patterns | Visual diagrams representing stitches | Visual learners, complex designs |
Beginner Patterns versus Advanced Patterns
Crochet patterns are also categorized based on skill level: beginner, intermediate, and advanced. Beginner patterns are designed for those new to crochet. They use basic stitches and simple constructions. Advanced patterns involve complex stitches, intricate designs, and often require a higher level of skill and experience.
“The key to progressing in crochet is to start with simple patterns and gradually move to more complex ones, building your skills and confidence along the way.”
When choosing a pattern, consider your skill level and the project’s complexity. For beginners, it’s essential to start with simple patterns. Gradually move to more challenging projects. Advanced crocheters can explore complex patterns that offer a challenge and the opportunity to learn new techniques.
Understanding the different crochet pattern types and being able to interpret crochet stitch diagrams are crucial skills for any crocheter. By recognizing the characteristics of written and charted patterns, as well as beginner and advanced patterns, you can make informed decisions about your projects. This will help you continue to grow in your crochet journey.
Breaking Down the Pattern
Crochet patterns can look scary, but they’re easier once you learn to break them down. Knowing the parts of a pattern is key to finishing your project.
Reading the Key and Symbols
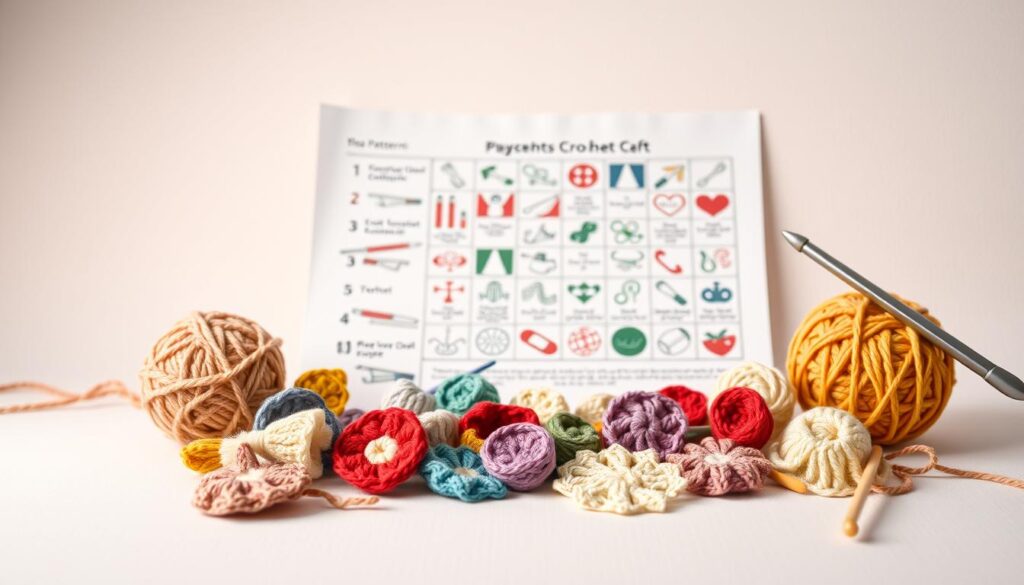
Every crochet pattern has a key or legend. Reading the key is the first step to understanding your pattern. It explains the symbols and abbreviations used. For example, an “X” might mean a single crochet stitch.
Understanding Abbreviations
Crochet patterns use abbreviations to save space. Knowing common ones is important. For instance, “ch” means chain, “sc” means single crochet, and “dc” means double crochet. You can find a list of these abbreviations at the start of the pattern or in a glossary.
| Abbreviation | Meaning |
|---|---|
| ch | chain |
| sc | single crochet |
| dc | double crochet |
Following Stitch Instructions
After getting the hang of abbreviations and symbols, it’s time to follow the stitch instructions. These will guide you through each row or round. Remember to watch the stitch count, as it affects the size and shape of your blanket. If a stitch is unclear, check the glossary or a trusted crochet resource.
Breaking down the pattern makes complex designs easier. Remember, practice is key. Don’t worry if it takes time to get the hang of reading crochet patterns.
Gauge: Why It Matters
In crochet, gauge is key to making your blanket the right size. It shows how tightly or loosely you crochet. Counting stitches and rows per inch gives you gauge. Getting the right gauge is vital for a great project.
What is Gauge?
Gauge measures how dense your crochet fabric is. It’s shown as stitches and rows per inch in a pattern. Hook size, yarn weight, and your crochet style affect gauge. Matching the pattern’s gauge is crucial for a perfect project.
How to Check Your Gauge
To check your gauge, make a swatch with the same yarn, hook, and pattern as your project. Here’s how:
- Crochet a swatch that’s at least 4 inches by 4 inches.
- Measure the center of the swatch to determine your gauge.
- Count the number of stitches and rows within a 1-inch square.
- Compare your gauge to the one specified in the pattern.
If your gauge is off, you might need to change your hook size or yarn to get the right tension.
Adjusting Patterns Based on Gauge
If your gauge doesn’t match the pattern’s, you’ll need to adjust. Here’s a simple table to help:
| Gauge Comparison | Adjustment Needed |
|---|---|
| Your gauge is looser than the pattern’s | Use a smaller hook to tighten your stitches |
| Your gauge is tighter than the pattern’s | Use a larger hook to loosen your stitches |
| Your gauge matches the pattern’s | No adjustment needed |
By adjusting your gauge, you can make sure your crochet blanket is the right size. This makes all your hard work worth it.
Yarn Choices: A Crucial Decision
The yarn you pick for your crochet project is key. It affects the texture, color, and look of your blanket. With many yarn types out there, finding the right one can seem hard. But, knowing a few important things can help you pick the perfect yarn for your blanket.
Selecting the Right Yarn Weight
Yarn weight is very important in crochet. It tells you how thick the yarn is. This thickness changes how your blanket looks and feels.
Here’s a simple guide to yarn weights and their uses:
| Yarn Weight | Typical Use |
|---|---|
| Lace | Delicate, intricate patterns |
| Fingering | Lace, baby items, and lightweight garments |
| Worsted | Blankets, hats, and garments that require a medium weight |
| Chunky | Quick, warm projects like thick blankets and scarves |
Understanding Yarn Labels
Yarn labels have important info for your project. Look for yarn weight, fiber content, hook size, and care instructions.
Key Information on Yarn Labels:
- Yarn weight and fiber content
- Recommended hook or needle size
- Gauge (tension) information
- Care instructions
Color and Texture Considerations
The color and texture of your yarn greatly impact your blanket’s look. Think about the recipient’s favorite colors and the room’s decor.
Texture also matters a lot. It changes how your blanket feels and looks. Smooth yarns make a soft fabric, while textured yarns add interest.
By thinking about yarn weight, label info, and color and texture, you can pick the best yarn for your blanket. This ensures it looks just as you imagined.
The Foundation Chain: Starting Strong
The foundation chain is key to your crochet project. It’s the first step for many patterns, like blankets and scarves. Getting it right is very important.
Creating a Foundation Chain
To start, make a slip knot on your hook. Then, chain the number of stitches your pattern says. It’s important to keep the tension even. This affects the whole project.
Step-by-Step Process:
- Make a slip knot on your hook.
- Yarn over, then pull the yarn through the slip knot.
- Repeat the process until you have the desired number of chains.
Common Mistakes to Avoid
One big mistake is uneven tension in the chain. This can make it hard to crochet into or sloppy.
Another mistake is counting the chains wrong. Always check your count to match the pattern.
Tips for a Strong Start
To start well, keep your tension even while chaining. Counting your chains as you go helps avoid mistakes.
If your chain twists, try to fix it or start over. Using the right hook size for your yarn is also key for the right tension.
Stitch Techniques and Their Notation
Learning about stitch techniques and their notation is key for crocheters. As you get better, you’ll try different stitches. Each one has its own way of being written and done.
Common Crochet Stitches Explained
Crochet stitches are the base of any project. You’ll often use stitches like the single crochet (sc), half double crochet (hdc), double crochet (dc), and treble crochet (tr). Each stitch has its own short way of being written in patterns.
For example, “sc” stands for single crochet, and “dc” stands for double crochet. Knowing these abbreviations helps you follow patterns right.
| Stitch Name | Abbreviation | Description |
|---|---|---|
| Single Crochet | sc | A basic stitch that creates a smooth, dense fabric. |
| Half Double Crochet | hdc | A stitch that is taller than the single crochet, creating a softer fabric. |
| Double Crochet | dc | A versatile stitch used in a wide range of projects, from garments to home decor. |
How to Read Stitch Notation
Stitch notation is a quick way to write crochet stitches in patterns. It uses abbreviations and symbols to help you through the project. To understand stitch notation, you need to look at the key or legend in the pattern.
The key tells you what each abbreviation, symbol, and chart means. For example, a filled-in square might mean a single crochet stitch, and an open circle might mean a chain stitch.
“The ability to read stitch notation is a skill that opens up a world of crochet possibilities. With practice, you’ll be able to tackle complex patterns and create beautiful, intricate designs.”
Practice Resources for Different Stitches
Practicing different crochet stitches is important. There are many resources to help you get better, like online tutorials, crochet books, and practice patterns.
Websites like Moogly and The Crochet Crowd have lots of free tutorials and patterns. You can also find crochet communities on social media. These places let you share tips and learn from others.
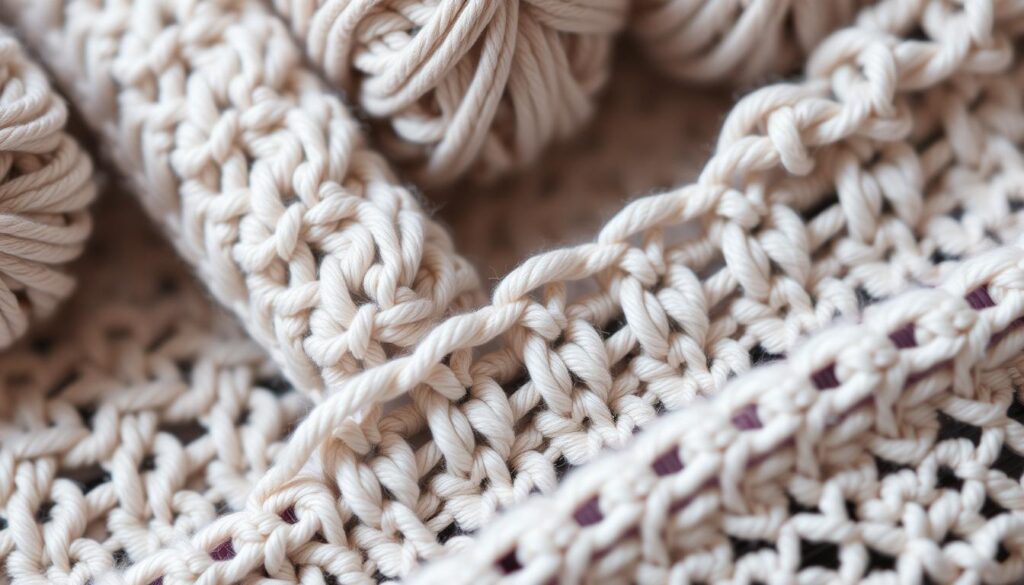
By practicing often and using the resources you have, you’ll get better at reading stitch notation. You’ll be able to make beautiful crochet projects.
Joining New Yarn: Techniques and Tips
As you crochet, you’ll need to join new yarn. Here’s how to do it smoothly. Joining new yarn is key to your crochet blanket’s look. Knowing when and how to join new yarn is crucial.
When to Join New Yarn
Join new yarn when you’ve used up your current yarn or want to change colors. It’s important to join at the start of a row or round. This way, seams won’t show in your work. Always join new yarn at a point that will be least visible for a clean finish.
How to Join Yarn Smoothly
There are several ways to join yarn smoothly. One method is to join with a slip stitch. Make a slip stitch in the stitch your pattern says, then chain one (or as your pattern says) to secure the new yarn. Another way is to use the “joining as you go” technique. Join the new yarn as you start the next round or row.
Tips for a Seamless Finish
To get a seamless finish, make sure to weave in ends securely. This prevents them from coming loose. Also, try to match the tension of your new yarn to your work. If changing colors, carry the yarn up the side to hide seams. Using a yarn needle to weave in ends also improves your blanket’s look.
Mastering how to join new yarn makes your crochet blanket look great. Remember, practice is key. Don’t worry if it takes a few tries to get it right.
Completing Your Blanket
The last steps in making your crochet blanket include adding borders and weaving in ends. As you get close to finishing, focus on the techniques that will make your blanket look professional.
Finishing Techniques
Finishing techniques are key to your blanket’s look and durability. Blocking is a common method. It involves wetting, stretching, and drying the blanket to even out stitches and improve texture.
Securing the last stitch is also crucial. Pull the yarn tail through the last loop and then weave it in. This keeps your work from unraveling.
Adding Borders and Edging
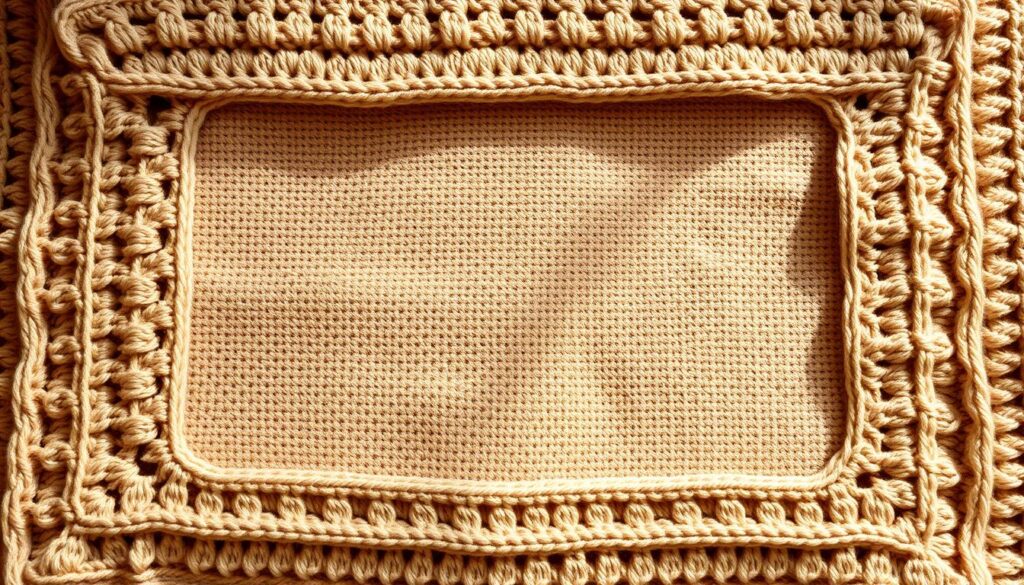
Adding a border or edging can make your blanket look better and more finished. You can choose from simple single crochet borders to more complex patterns.
Think about your blanket’s style when picking a border. A simple border is good for modern designs, while intricate patterns suit traditional or vintage looks.
Weaving in Ends
Weaving in ends is a key step in finishing your blanket. Use a yarn needle to thread yarn tails through stitches on the wrong side. This secures the yarn and prevents it from coming loose.
To weave in ends well, thread the yarn tail through the needle and then into the stitches. Work in the same direction as the yarn to blend the yarn tail with the rest of the work.
| Technique | Purpose | Tips |
|---|---|---|
| Blocking | Evens out stitches, improves texture | Use a blocking mat and pins to achieve the desired shape |
| Securing Last Stitch | Prevents unraveling | Pull yarn tail through the last loop and weave in ends |
| Adding Borders | Enhances appearance, gives a finished look | Choose a border that complements the blanket’s style |
| Weaving in Ends | Secures yarn tails, prevents loose ends | Work in the same direction as the yarn to blend with the work |
“The finishing touches on a crochet blanket can make all the difference between a homemade look and a professional finish.”
Troubleshooting Common Issues
Troubleshooting is key in crochet, helping you solve problems quickly. When making a crochet blanket, you might face issues. But, with the right help, you can get past them.
Fixing Mistakes in Your Work
Mistakes happen, but you can fix them. The first step is to spot the error early. To fix a mistake, carefully rip out your work back to the error point. This might be hard, but it’s crucial for a good blanket.
As one experienced crocheter says,
“The most important thing is to be patient and not be afraid to undo your work if necessary. It’s better to fix a mistake early on than to have to redo a large portion of your blanket later.”
Adjusting Size or Fit Issues
Your crochet blanket might not be the size you wanted. This could be because of gauge or yarn weight differences. To adjust the size, change your hook size or yarn weight. For a smaller blanket, use a larger hook or thicker yarn. For a bigger one, use a smaller hook or finer yarn.
Where to Find Help
If you’re stuck on a pattern or technique, don’t worry. Online crochet communities, tutorials, and pattern support are great resources. Sites like Moogly, The Crochet Crowd, and Crochet Geek have lots of info, from videos to guides.
Also, joining a local crochet group or online forum can help. The crochet community is very supportive. You’ll find help and encouragement to keep going.
Next Steps After Your First Blanket
Now that you’ve finished your first crochet blanket, it’s time to get better. Try out advanced crochet patterns to challenge yourself. You can find these in crochet books, online tutorials, or crochet communities.
Advanced Patterns and Communities
Websites like Moogly and The Crochet Crowd have lots of advanced patterns and tutorials. Joining crochet communities, online or in-person, keeps you motivated and inspired. You can share your work, learn from others, and get feedback.
Continuing Your Crochet Education
It’s important to keep learning to get better at crochet. You can take online classes, attend workshops, or watch video tutorials. By always learning and trying new things, you’ll become more confident and skilled.
Remember to have fun and be patient with yourself as you keep crocheting. With practice and dedication, you’ll soon be making beautiful, complex projects.


