Are you ready to dive into crochet patterns but feel lost in the terminology and abbreviations? You’re not alone. Many crocheters find it tough to understand the language, but with practice, you’ll get the hang of it.
Learning to read crochet patterns is a big step after mastering basic stitches. Knowing crochet pattern terminology and abbreviations will make any project easier.
Starting your crochet pattern journey might seem daunting, but it’s simpler than you think. This guide will teach you the basics of understanding crochet pattern terminology. You’ll be on your way to making beautiful projects in no time.
Key Takeaways
- Understand the basics of crochet pattern terminology
- Learn to decipher abbreviations and symbols used in crochet patterns
- Gain confidence in following written crochet instructions
- Discover tips for reading crochet patterns effectively
- Improve your crochet skills with practice and patience
Understanding Crochet Pattern Basics
Learning the basics of crochet patterns is the first step to unlocking your creativity. A crochet pattern is a detailed guide for making a specific project. This could be anything from a cozy blanket to a stylish hat or warm gloves.
To effectively decode crochet instructions, you must understand what a pattern entails. It’s a set of instructions that includes materials, gauge, and step-by-step directions for your project.
What is a Crochet Pattern?
A crochet pattern is more than just instructions. It’s a roadmap to creating something beautiful and functional. It usually includes the project name, the designer’s name, the skill level needed, and a list of materials.
To decipher crochet symbols and instructions, you need to know the components of a pattern. These components are key for a successful project.
Components of a Crochet Pattern
The basics of a crochet pattern include:
- Project Overview: This includes the project’s name, the designer’s name, and the skill level required.
- Materials Needed: A list of yarn, hooks, and other necessary tools.
- Gauge: Information on how to measure your stitches to ensure the correct size.
- Step-by-Step Instructions: Detailed directions on how to complete the project.
- Special Stitches or Techniques: Any unique stitches or methods required for the project.
By understanding these components, you’ll be better equipped to decode crochet instructions and decipher any crochet symbols used in the pattern.
With a solid grasp of crochet pattern basics, you’ll be able to tackle a wide range of projects with confidence. Whether you’re a beginner or an experienced crocheter, knowing how to read and follow a pattern is crucial. It’s the key to creating beautiful, functional items.
Common Abbreviations in Crochet Patterns
Understanding crochet patterns starts with knowing the abbreviations and terms. These abbreviations save space and make instructions brief. This lets crocheters dive into the creative process without delay.
“Mastering crochet abbreviations is key to unlocking the full potential of your crochet projects,” as emphasized by crochet experts. Knowing these abbreviations is vital for reading patterns accurately and easily.
Essential Stitches and Their Abbreviations
First, learn the abbreviations for common stitches. These include:
- ch – chain
- sc – single crochet
- dc – double crochet
- hdc – half double crochet
- tr – triple crochet
These stitches are the base of most crochet patterns. Knowing their abbreviations makes complex patterns easier to follow. As you get better, reading patterns will become second nature.

Special Terms You Need to Know
There are also special terms to learn. These include:
- st – stitch
- sl st – slip stitch
- inc – increase
- dec – decrease
Knowing these terms helps you understand pattern instructions better. For example, knowing how to do a slip stitch (sl st) or an increase (inc) is key for shaping your projects right.
By learning both essential stitches and special terms, you’re ready for many crochet patterns. This knowledge boosts your skills and opens up new creative possibilities.
Tools and Materials for Reading Patterns
Before starting a crochet project, you need the right tools and materials. Having the correct supplies helps you understand and follow the pattern.
Necessary Crochet Tools
You’ll need a few key tools to begin crocheting. The most important is the crochet hook. Hooks are made from materials like aluminum, steel, and wood. They come in different sizes, so choose one that fits the yarn and pattern.
You’ll also need scissors for cutting yarn, a yarn needle for weaving ends, and stitch markers to mark important stitches or patterns.
Recommended Yarn Types
Yarn is vital for crocheting. It’s available in various weights, fibers, and colors. The weight of the yarn is key, as it determines the project’s size and texture.
When picking yarn, think about the project’s purpose and the pattern’s yarn weight suggestion. For example, worsted weight yarn is good for garments. Bulky yarn is better for fast, warm items like hats and scarves.
| Yarn Weight | Project Type | Recommended Hook Size |
|---|---|---|
| Lace | Delicate shawls, doilies | 0.6mm – 1.6mm |
| Fingering | Lace, baby clothes | 2.0mm – 3.5mm |
| Worsted | Garments, accessories | 4.0mm – 5.5mm |
| Bulky | Hats, scarves, quick projects | 6.0mm – 9.0mm |
Knowing about different yarn types and their uses helps you choose wisely. Always check the pattern’s yarn recommendations for the best outcome.
Decoding Pattern Instructions
Understanding crochet patterns is more than just knowing stitches. It’s about decoding instructions correctly. Patterns guide you through making a specific project. Following these instructions is key to success.
To decode pattern instructions well, you must know the standard formats. Most patterns have a similar structure. This makes it easier once you learn the basics.
Breaking Down the Instructions
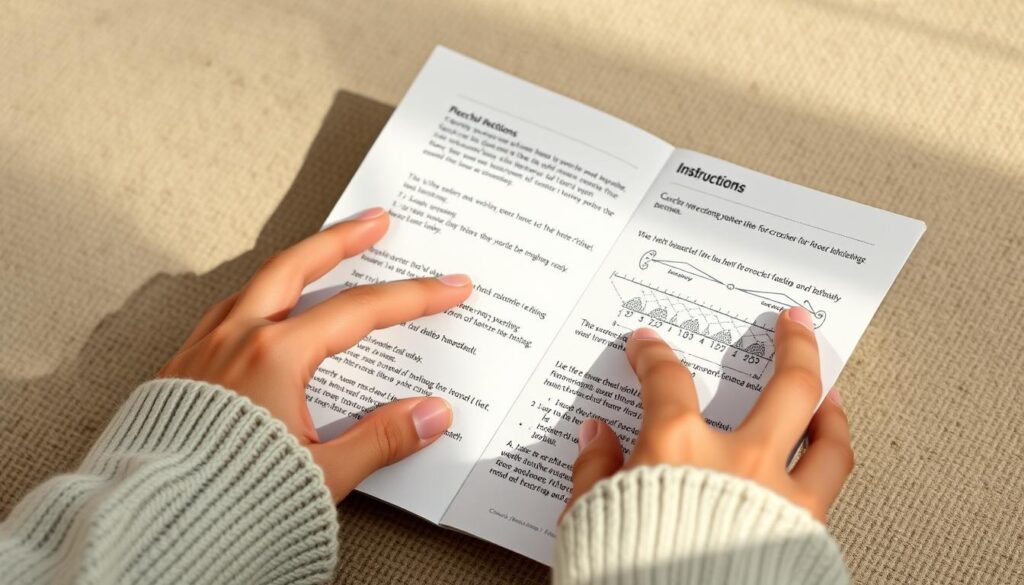
Crochet pattern instructions include written guides, abbreviations, and sometimes charts or diagrams. Start by reading the whole pattern to grasp the project’s scope and needs.
Focus on the materials needed, gauge, and special stitches or techniques. Knowing these will help you follow the instructions better.
- Identify the starting chain and the number of stitches required.
- Understand the sequence of stitches and how they are repeated.
- Note any special instructions or variations for different sizes or yarn weights.
Common Pattern Formats
Crochet patterns come in various formats, like written instructions, charts, or both. Written instructions are the most common. They give a step-by-step guide to complete the project.
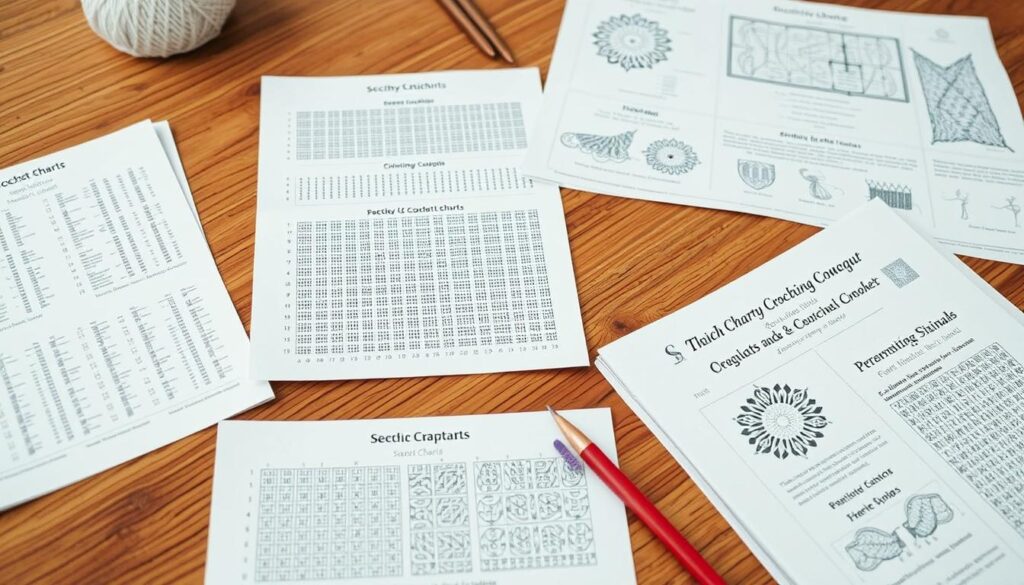
Charts use symbols for stitches and are used for complex patterns. Knowing how to read these charts is crucial for visual patterns.

| Pattern Format | Description | Best For |
|---|---|---|
| Written Instructions | Step-by-step guide using abbreviations and text. | Beginners, detailed projects |
| Charts | Visual representation using symbols for stitches. | Complex patterns, visual learners |
| Combination | Both written instructions and charts. | Projects requiring both detail and visual guidance |
By understanding different pattern formats and how to decode them, you can confidently tackle many crochet projects.
Finding Your Skill Level in Patterns
As you start crocheting, knowing your skill level is key. It helps you choose the right patterns. This ensures your projects are fun, yet not too hard.
Crochet patterns fall into three main levels: beginner, intermediate, and advanced.
Beginner, Intermediate, and Advanced Patterns
Beginner crochet patterns are for newbies or those looking to get back into it. They use simple stitches and easy-to-follow steps. Intermediate patterns add more complex stitches and techniques. Advanced patterns are for seasoned crocheters who want a challenge.
Choosing Patterns That Suit You
When choosing crochet patterns, pick ones that fit your skill level. This keeps you interested and motivated. Beginners should start with simple projects like scarves or dishcloths.
As you get better, move on to more complex patterns. Always check the pattern’s skill level before starting. This avoids frustration and ensures success. By knowing your crochet skill levels and picking the right patterns, you’ll enjoy making beautiful projects.
Chart Reading for Crochet Patterns
Many crocheters find charts easier to follow than written instructions. These visual guides show stitches clearly. Learning to read charts is key for complex designs.
Understanding Crochet Charts
Crochet charts use symbols for different stitches. This makes patterns easier to see. They’re great for intricate designs. Charts are read from bottom to top and right to left for rows, and from the center out for rounds.
Tips for Interpreting Charts
Understanding chart symbols is crucial. Here are some tips:
- Start with the key: Most charts have a key or legend that explains the symbols.
- Follow the chart row by row or round by round: Pay attention to the chart’s direction, whether for rows or rounds.
- Use a ruler or highlighter: To keep track of your place, consider using a ruler or highlighter.

Mastering chart reading opens up more crochet possibilities. You’ll feel confident tackling complex patterns.
The Importance of Gauge
The gauge of your crochet project is key to its size and fit. Gauge shows how many stitches and rows are in each inch. Getting the right gauge is crucial for a perfect fit.
What is Gauge?
Gauge shows how tightly or loosely you crochet. Patterns usually tell you the gauge needed. To get the right gauge, focus on the hook size and yarn weight. It’s important to measure stitches and rows to match the pattern.
For instance, if a pattern says 12 dc stitches x 7 rows = 4 inches, you must match this. If not, your project might be too big or too small.
How to Check Your Gauge
To check your gauge, make a gauge swatch. Begin by chaining the number of stitches the pattern says. Then, crochet the pattern for the number of rows it asks. Measure it to see if it matches the pattern’s gauge.
If your gauge is wrong, you might need a different hook size. Here’s a simple table to help you adjust:
| Gauge Issue | Adjustment Needed |
|---|---|
| Gauge too loose | Use a smaller hook size |
| Gauge too tight | Use a larger hook size |
By checking your gauge and adjusting as needed, you can make sure your crochet is the right size.
Modifying Patterns to Suit Your Style
Modifying crochet patterns lets you add your personal touch to a project. You can change the size, color, or yarn. Learning how to modify patterns is key for any crocheter.
By modifying a pattern, you can make something that fits your style perfectly. This is very important for garments, where fit matters a lot.
Adjusting Size and Fit
To change the size of a crochet project, you need to know how it’s made. You must understand how changing the hook size or yarn weight affects it. Here are some tips:
- To make a project larger, use a bigger hook or heavier yarn.
- To make it smaller, use a smaller hook or lighter yarn.
- Swatching is key before starting to ensure your changes will work.

Changing Yarn Weight and Hook Size
Changing yarn weight or hook size can greatly change your project’s look and feel. Here are some things to consider:
- Switching yarn weights can alter the project’s drape and texture. For example, going from lightweight to bulky yarn makes it warmer and denser.
- Hook size changes the stitch tension. A bigger hook makes stitches looser, while a smaller one makes them tighter.
Understanding how to adjust yarn weight and hook size lets you create different effects. You can go from lacy and airy to dense and warm.
For garments, pick a yarn with good stitch definition and a hook size for the right fabric. Try different yarns and hooks to get the look and feel you want.
Troubleshooting Common Issues
Troubleshooting is key for crocheters. It helps you solve common problems during a project. Whether it’s a complex pattern or a simple design, issues can be frustrating. But, with the right skills, you can fix mistakes and ensure your project looks great.
Misreading Instructions
Misreading pattern instructions is a common problem. It can lead to mistakes like counting stitches wrong or not understanding abbreviations. To avoid this, read the entire pattern before starting. This helps you get familiar with the terms, steps, and special instructions.
When reading, focus on the abbreviations and symbols. If a stitch or technique is unclear, check the glossary or tutorials. Also, use a highlighter to mark off steps as you complete them. This keeps you on track and avoids confusion.
Fixing Mistakes While Crocheting
Mistakes happen in crochet, but knowing how to fix them saves time and stress. First, identify the error. Review your work against the pattern or a reference image. Then, start fixing it.
For small mistakes, like a single stitch error, you can often fix it by frogging (ripping out) your work back to the mistake. Unravel until you reach the error, then redo the stitches right. For bigger mistakes, you might need to redo larger parts or even start over. But with practice, you’ll get better at fixing errors.
Learning to troubleshoot improves your crochet projects and your crocheting experience. Remember, every crocheter faces challenges. The important thing is to be patient, persistent, and open to learning.
Useful Resources for Crocheters
As you keep crocheting, the right resources can really help. You’ll find many tools to support and inspire your work. These include online communities, books, and tutorials.
Online Crochet Communities
Online crochet communities are great for connecting with others. You can share patterns and learn from experts. Look for them on social media, forums, and crochet websites.
These communities often have free patterns, tutorials, and advice. They’re a great place to get inspiration and guidance.
Recommended Books and Tutorials
Books and tutorials are also valuable for improving your skills. Renowned designers and authors share their knowledge in these guides. You can find materials for all skill levels, from simple stitches to complex patterns.
Exploring different sources will help you find the best resources. This will make your crochet journey even more enjoyable.


